Specifying a skin
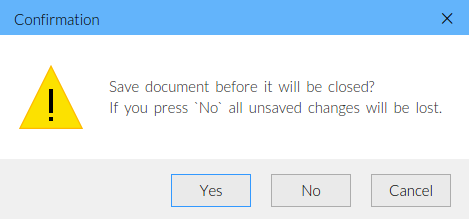
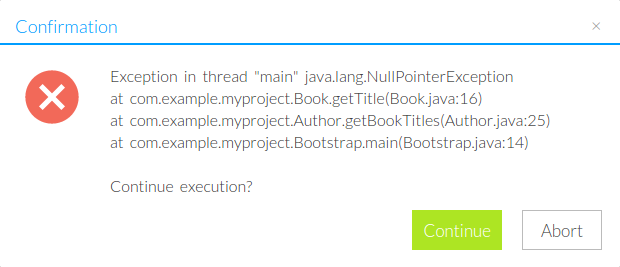
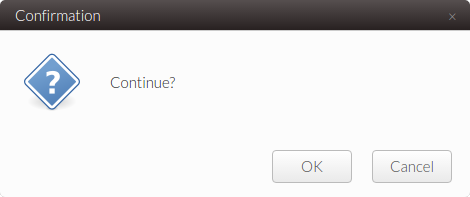
JSDialog already has a number of visual themes included to the distributive. You can use them by calling this code before any dialog construction:
JSDialog.Config.skin = 'skin_name';Use needed name of the skin instead of skin_name value.
Optionally for immediate skin loading (before first show of any dialog) use JSDialog.Config.loadSkin() function.
Available skins
Default skin

JSDialog.Config.skin = 'default';UI theme for almost any website.
Flat skin

JSDialog.Config.skin = 'flat';Skin for modern websites.
Windows 10 skin

JSDialog.Config.skin = 'win10';Theme for Windows users.
Android skin

JSDialog.Config.skin = 'android';A la Android theme.
Gnome skin

JSDialog.Config.skin = 'gnome';Use this for Linux related webapps.
iOS skin

JSDialog.Config.skin = 'ios';Skin for Apple (iPhone/iPad) fans.
Creating a custom visual theme
If you need to create you own skin, follow this simple instruction:
- Copy any of the skin to separate folder inside
jsdialog/. The name of a new directory is the name for new skin. - Change CSS file
jsdialog.cssand images inside it as you wish. - Optionally if the width or height of window borders or title or buttons area, please specify
JSDialog.Config.contentBordersparameter (see API docs for contentBorders) - Use the skin by setting
JSDialog.Config.skin = 'your_skin_name';


 Buy in bundle